Cycling under the stars or through the quiet, lamp-lit streets of your city can be a magical experience—a chance to reclaim peace, beat traffic, and see familiar routes in a new light. But night riding introduces a fundamental shift in priority: safety is no longer just about skill and awareness; it’s about creating a complete visual system. This system has two equally important layers: being seen by others and seeing your environment clearly.
{"height":15,"color":{"hue":213,"brightness":0.83,"saturation":1,"alpha":0},"hidden":false,"locked":false,"blockName":"Spacer"}
Think of it not as adding a few accessories, but as building your own personal safety ecosystem. Here’s how to construct it, layer by layer.
{"height":15,"color":{"hue":213,"brightness":0.83,"saturation":1,"alpha":0},"hidden":false,"locked":false,"blockName":"Spacer copy"}
Layer 1: Be Seen — Make Yourself Unmissable
{"height":15,"color":{"hue":213,"brightness":0.83,"saturation":1,"alpha":0},"hidden":false,"locked":false,"blockName":"Spacer copy copy"}
This is your passive and active defense against inattentive drivers, pedestrians, and other cyclists. The goal is to be visible from all directions, at all times.
{"height":15,"color":{"hue":213,"brightness":0.83,"saturation":1,"alpha":0},"hidden":false,"locked":false,"blockName":"Spacer copy copy copy"}
1. The Core: Front and Rear Lights
{"height":15,"color":{"hue":213,"brightness":0.83,"saturation":1,"alpha":0},"hidden":false,"locked":false,"blockName":"Spacer copy copy copy copy"}
Rear Light (Red): This is non-negotiable. Use a bright, flashing (or pulsing) LED light to catch attention. For extra safety, use two: one steady on your seat post and one flashing on your backpack or helmet.
{"height":15,"color":{"hue":213,"brightness":0.83,"saturation":1,"alpha":0},"hidden":false,"locked":false,"blockName":"Spacer copy copy copy copy copy"}
Front Light (White): While crucial for seeing, it also makes you visible head-on. A daytime running light (DRL) mode, even during dusk, is highly effective.
{"height":15,"color":{"hue":213,"brightness":0.83,"saturation":1,"alpha":0},"hidden":false,"locked":false,"blockName":"Spacer copy copy copy copy copy copy"}
Rule of Thumb: Don’t just buy the cheapest set. Look for lights with 80+ lumens for the rear and 300+ lumens for the front as a starting point. Check battery life ratings for your commute length.
{"height":15,"color":{"hue":213,"brightness":0.83,"saturation":1,"alpha":0},"hidden":false,"locked":false,"blockName":"Spacer copy copy copy copy copy copy copy"}
2. The Amplifier: Reflective Gear
{"height":15,"color":{"hue":213,"brightness":0.83,"saturation":1,"alpha":0},"hidden":false,"locked":false,"blockName":"Spacer copy copy copy copy copy copy copy copy"}
Lights are point sources; reflectors create a larger visual footprint when illuminated by headlights.
{"height":15,"color":{"hue":213,"brightness":0.83,"saturation":1,"alpha":0},"hidden":false,"locked":false,"blockName":"Spacer copy copy copy copy copy copy copy copy copy"}
Ankle & Calf Reflectors: The up-and-down motion instantly signals "cyclist" to a driver's brain.
{"height":15,"color":{"hue":213,"brightness":0.83,"saturation":1,"alpha":0},"hidden":false,"locked":false,"blockName":"Spacer copy copy copy copy copy copy copy copy copy copy"}
Reflective Vest or Jacket: This dramatically increases your silhouette.
{"height":15,"color":{"hue":213,"brightness":0.83,"saturation":1,"alpha":0},"hidden":false,"locked":false,"blockName":"Spacer copy copy copy copy copy copy copy copy copy copy copy"}
Reflective Tape & Decals: Apply them to your bike frame, helmet, and panniers. Side visibility is often overlooked but critical at intersections.
{"height":15,"color":{"hue":213,"brightness":0.83,"saturation":1,"alpha":0},"hidden":false,"locked":false,"blockName":"Spacer copy copy copy copy copy copy copy copy copy copy copy copy"}
3. The 360-Degree Solution: Wheel & Spoke Lighting
{"height":15,"color":{"hue":213,"brightness":0.83,"saturation":1,"alpha":0},"hidden":false,"locked":false,"blockName":"Spacer copy copy copy copy copy copy copy copy copy copy copy copy copy"}
Active wheel lights (LED spokes) or reflective rim strips ensure you are seen from the side, making your moving bike a clearly identifiable object from any angle.
{"height":15,"color":{"hue":213,"brightness":0.83,"saturation":1,"alpha":0},"hidden":false,"locked":false,"blockName":"Spacer copy copy copy copy copy copy copy copy copy copy copy copy copy copy copy"}
{"height":15,"color":{"hue":213,"brightness":0.83,"saturation":1,"alpha":0},"hidden":false,"locked":false,"blockName":"Spacer copy copy copy copy copy copy copy copy copy copy copy copy copy copy"}
Layer 2: See Everything — Light Your Path with Clarity
{"height":15,"color":{"hue":213,"brightness":0.83,"saturation":1,"alpha":0},"hidden":false,"locked":false,"blockName":"Spacer copy copy copy copy copy copy copy copy copy copy copy copy copy copy copy"}
Being seen is half the battle. You must also identify road hazards, read the surface, and navigate with confidence.
{"height":15,"color":{"hue":213,"brightness":0.83,"saturation":1,"alpha":0},"hidden":false,"locked":false,"blockName":"Spacer copy copy copy copy copy copy copy copy copy copy copy copy copy copy copy copy"}
1. Your Primary Headlight: Quality Over Raw Power
{"height":15,"color":{"hue":213,"brightness":0.83,"saturation":1,"alpha":0},"hidden":false,"locked":false,"blockName":"Spacer copy copy copy copy copy copy copy copy copy copy copy copy copy copy copy copy copy"}
A blinding, high-lumen beam aimed straight ahead is a hazard. You need a focused beam pattern.
{"height":15,"color":{"hue":213,"brightness":0.83,"saturation":1,"alpha":0},"hidden":false,"locked":false,"blockName":"Spacer copy copy copy copy copy copy copy copy copy copy copy copy copy copy copy copy copy copy"}
Lumen Rating Context: For paved, urban/suburban paths, 500-800 lumens with a good beam pattern is often more effective than 1200+ scattered lumens. For unlit trail riding, 1000+ may be necessary.
{"height":15,"color":{"hue":213,"brightness":0.83,"saturation":1,"alpha":0},"hidden":false,"locked":false,"blockName":"Spacer copy copy copy copy copy copy copy copy copy copy copy copy copy copy copy copy copy copy copy"}
2. Aim and Angle Matter
{"height":15,"color":{"hue":213,"brightness":0.83,"saturation":1,"alpha":0},"hidden":false,"locked":false,"blockName":"Spacer copy copy copy copy copy copy copy copy copy copy copy copy copy copy copy copy copy copy copy copy"}
Tilt your headlight slightly downward so the main beam hits the road 10-20 feet ahead of your bike. This illuminates hazards like potholes, glass, and debris without wasting light on the horizon or shining into eyes.
{"height":15,"color":{"hue":213,"brightness":0.83,"saturation":1,"alpha":0},"hidden":false,"locked":false,"blockName":"Spacer copy copy copy copy copy copy copy copy copy copy copy copy copy copy copy copy copy copy copy copy copy"}
3. The Helmet Light Advantage
{"height":15,"color":{"hue":213,"brightness":0.83,"saturation":1,"alpha":0},"hidden":false,"locked":false,"blockName":"Spacer copy copy copy copy copy copy copy copy copy copy copy copy copy copy copy copy copy copy copy copy copy copy"}
A secondary, smaller light on your helmet is invaluable. It turns where you look—scanning into turns, reading street signs, or checking trail markers. Crucially: only use this as a supplement to your bar-mounted light, never as your sole light source. Always turn it off when looking at other road users to avoid blinding them.
{"height":15,"color":{"hue":213,"brightness":0.83,"saturation":1,"alpha":0},"hidden":false,"locked":false,"blockName":"Spacer copy copy copy copy copy copy copy copy copy copy copy copy copy copy copy copy copy copy copy copy copy copy copy"}
Putting It All Together: The Integrated Night Cycling System
{"height":15,"color":{"hue":213,"brightness":0.83,"saturation":1,"alpha":0},"hidden":false,"locked":false,"blockName":"Spacer copy copy copy copy copy copy copy copy copy copy copy copy copy copy copy copy copy copy copy copy copy copy copy copy"}
Here’s a checklist for a comprehensive setup:
{"height":15,"color":{"hue":213,"brightness":0.83,"saturation":1,"alpha":0},"hidden":false,"locked":false,"blockName":"Spacer copy copy copy copy copy copy copy copy copy copy copy copy copy copy copy copy copy copy copy copy copy copy copy copy copy"}
On the Bike:
{"height":15,"color":{"hue":213,"brightness":0.83,"saturation":1,"alpha":0},"hidden":false,"locked":false,"blockName":"Spacer copy copy copy copy copy copy copy copy copy copy copy copy copy copy copy copy copy copy copy copy copy copy copy copy copy copy"}
Primary Headlight: 500+ lumens, mounted securely on the handlebar.
{"height":15,"color":{"hue":213,"brightness":0.83,"saturation":1,"alpha":0},"hidden":false,"locked":false,"blockName":"Spacer copy copy copy copy copy copy copy copy copy copy copy copy copy copy copy copy copy copy copy copy copy copy copy copy copy copy copy"}
Primary Taillight: A bright flashing LED on the seat post.
{"height":15,"color":{"hue":213,"brightness":0.83,"saturation":1,"alpha":0},"hidden":false,"locked":false,"blockName":"Spacer copy copy copy copy copy copy copy copy copy copy copy copy copy copy copy copy copy copy copy copy copy copy copy copy copy copy copy copy"}
Secondary Taillight: A backup on your backpack or rack.
{"height":15,"color":{"hue":213,"brightness":0.83,"saturation":1,"alpha":0},"hidden":false,"locked":false,"blockName":"Spacer copy copy copy copy copy copy copy copy copy copy copy copy copy copy copy copy copy copy copy copy copy copy copy copy copy copy copy copy copy"}
Side Reflectivity: Reflective tape on frame, reflective tires, or spoke lights.
{"height":15,"color":{"hue":213,"brightness":0.83,"saturation":1,"alpha":0},"hidden":false,"locked":false,"blockName":"Spacer copy copy copy copy copy copy copy copy copy copy copy copy copy copy copy copy copy copy copy copy copy copy copy copy copy copy copy copy copy copy"}
Backup Power: A small power bank to recharge lights mid-ride if needed.
{"height":15,"color":{"hue":213,"brightness":0.83,"saturation":1,"alpha":0},"hidden":false,"locked":false,"blockName":"Spacer copy copy copy copy copy copy copy copy copy copy copy copy copy copy copy copy copy copy copy copy copy copy copy copy copy copy copy copy copy copy copy"}
On Your Person:
{"height":15,"color":{"hue":213,"brightness":0.83,"saturation":1,"alpha":0},"hidden":false,"locked":false,"blockName":"Spacer copy copy copy copy copy copy copy copy copy copy copy copy copy copy copy copy copy copy copy copy copy copy copy copy copy copy copy copy copy copy copy copy"}
Helmet: Fitted with reflective stickers and optionally a helmet light.
{"height":15,"color":{"hue":213,"brightness":0.83,"saturation":1,"alpha":0},"hidden":false,"locked":false,"blockName":"Spacer copy copy copy copy copy copy copy copy copy copy copy copy copy copy copy copy copy copy copy copy copy copy copy copy copy copy copy copy copy copy copy copy copy"}
Torso: Reflective vest, jacket, or strips on your clothing.
{"height":15,"color":{"hue":213,"brightness":0.83,"saturation":1,"alpha":0},"hidden":false,"locked":false,"blockName":"Spacer copy copy copy copy copy copy copy copy copy copy copy copy copy copy copy copy copy copy copy copy copy copy copy copy copy copy copy copy copy copy copy copy copy copy"}
Limbs: Reflective ankle bands or shoes with reflective elements.
{"height":15,"color":{"hue":213,"brightness":0.83,"saturation":1,"alpha":0},"hidden":false,"locked":false,"blockName":"Spacer copy copy copy copy copy copy copy copy copy copy copy copy copy copy copy copy copy copy copy copy copy copy copy copy copy copy copy copy copy copy copy copy copy copy copy"}
Gloves: Some have reflective material on the back, making hand signals visible.
{"height":15,"color":{"hue":213,"brightness":0.83,"saturation":1,"alpha":0},"hidden":false,"locked":false,"blockName":"Spacer copy copy copy copy copy copy copy copy copy copy copy copy copy copy copy copy copy copy copy copy copy copy copy copy copy copy copy copy copy copy copy copy copy copy copy copy"}
Your Riding Protocol:
{"height":15,"color":{"hue":213,"brightness":0.83,"saturation":1,"alpha":0},"hidden":false,"locked":false,"blockName":"Spacer copy copy copy copy copy copy copy copy copy copy copy copy copy copy copy copy copy copy copy copy copy copy copy copy copy copy copy copy copy copy copy copy copy copy copy copy copy"}
Pre-ride Check: Test all lights and confirm charges.
{"height":15,"color":{"hue":213,"brightness":0.83,"saturation":1,"alpha":0},"hidden":false,"locked":false,"blockName":"Spacer copy copy copy copy copy copy copy copy copy copy copy copy copy copy copy copy copy copy copy copy copy copy copy copy copy copy copy copy copy copy copy copy copy copy copy copy copy copy"}
Route Choice: Favor well-lit or familiar routes at night. Plan for less traffic.
{"height":15,"color":{"hue":213,"brightness":0.83,"saturation":1,"alpha":0},"hidden":false,"locked":false,"blockName":"Spacer copy copy copy copy copy copy copy copy copy copy copy copy copy copy copy copy copy copy copy copy copy copy copy copy copy copy copy copy copy copy copy copy copy copy copy copy copy copy copy"}
Hyper-Awareness: Assume you are not seen. Make eye contact, signal clearly, and ride predictably.
{"height":15,"color":{"hue":213,"brightness":0.83,"saturation":1,"alpha":0},"hidden":false,"locked":false,"blockName":"Spacer copy copy copy copy copy copy copy copy copy copy copy copy copy copy copy copy copy copy copy copy copy copy copy copy copy copy copy copy copy copy copy copy copy copy copy copy copy copy copy copy"}
Maintenance: Keep lights clean and lenses free of mud. Check mounting brackets for tightness.
{"height":15,"color":{"hue":213,"brightness":0.83,"saturation":1,"alpha":0},"hidden":false,"locked":false,"blockName":"Spacer copy copy copy copy copy copy copy copy copy copy copy copy copy copy copy copy copy copy copy copy copy copy copy copy copy copy copy copy copy copy copy copy copy copy copy copy copy copy copy copy copy copy"}
{"height":15,"color":{"hue":213,"brightness":0.83,"saturation":1,"alpha":0},"hidden":false,"locked":false,"blockName":"Spacer copy copy copy copy copy copy copy copy copy copy copy copy copy copy copy copy copy copy copy copy copy copy copy copy copy copy copy copy copy copy copy copy copy copy copy copy copy copy copy copy copy"}
A Final Note: Technology as Your Ally
{"height":15,"color":{"hue":213,"brightness":0.83,"saturation":1,"alpha":0},"hidden":false,"locked":false,"blockName":"Spacer copy copy copy copy copy copy copy copy copy copy copy copy copy copy copy copy copy copy copy copy copy copy copy copy copy copy copy copy copy copy copy copy copy copy copy copy copy copy copy copy copy copy"}
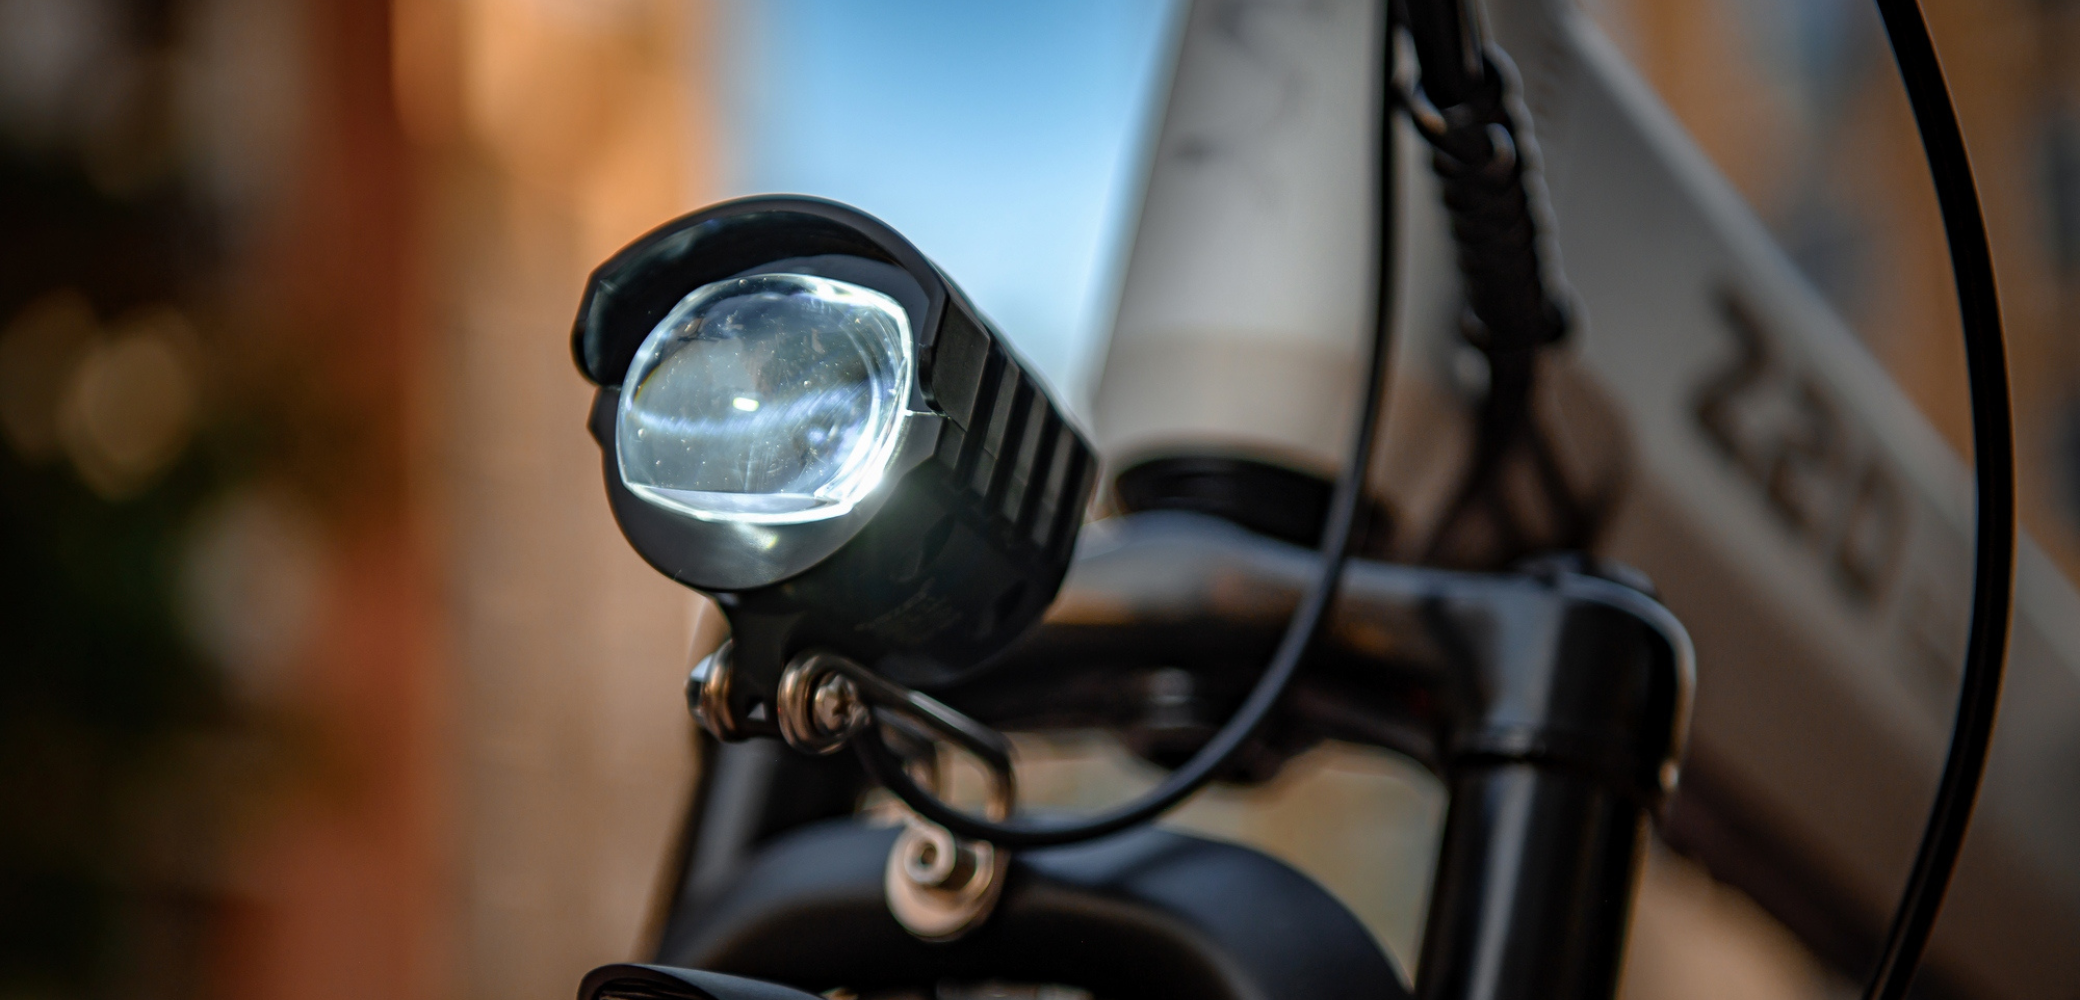
Modern e-bikes often integrate perfectly into this system. For example, models like the PVY Z20 PLUS, with their robust chassis and powerful battery, provide a stable platform for mounting high-performance headlights. The headlights are powered by the main battery, enabling long-lasting and reliable illumination.The bike’s inherent stability on varied surfaces also boosts confidence when riding in lower-light conditions.
{"height":15,"color":{"hue":213,"brightness":0.83,"saturation":1,"alpha":0},"hidden":false,"locked":false,"blockName":"Spacer copy copy copy copy copy copy copy copy copy copy copy copy copy copy copy copy copy copy copy copy copy copy copy copy copy copy copy copy copy copy copy copy copy copy copy copy copy copy copy copy copy copy copy"}
Night cycling doesn’t have to be risky. By systematically building this dual-layered safety system—making yourself a beacon and effectively illuminating your world—you transform the night into your own peaceful, empowering playground. Gear up, light up, and ride on.
{"height":15,"color":{"hue":213,"brightness":0.83,"saturation":1,"alpha":0},"hidden":false,"locked":false,"blockName":"Spacer copy copy copy copy copy copy copy copy copy copy copy copy copy copy copy copy copy copy copy copy copy copy copy copy copy copy copy copy copy copy copy copy copy copy copy copy copy copy copy copy copy copy copy copy"}
What’s your most essential piece of night-riding gear? Share your tips in the comments below to help fellow cyclists ride safer.


Share:
What to Look for in an Electric Bike A Practical Guide for New Riders
E-Bike Tire Blowout Why It Happens and How to Handle It Safely